
Interior project checklist: first site visit to handover
A practical interior project checklist for Indian studios, stage by stage from the first site visit to handover, with what to get signed at each step.
By the Interioflow team · · Updated · 9 min read
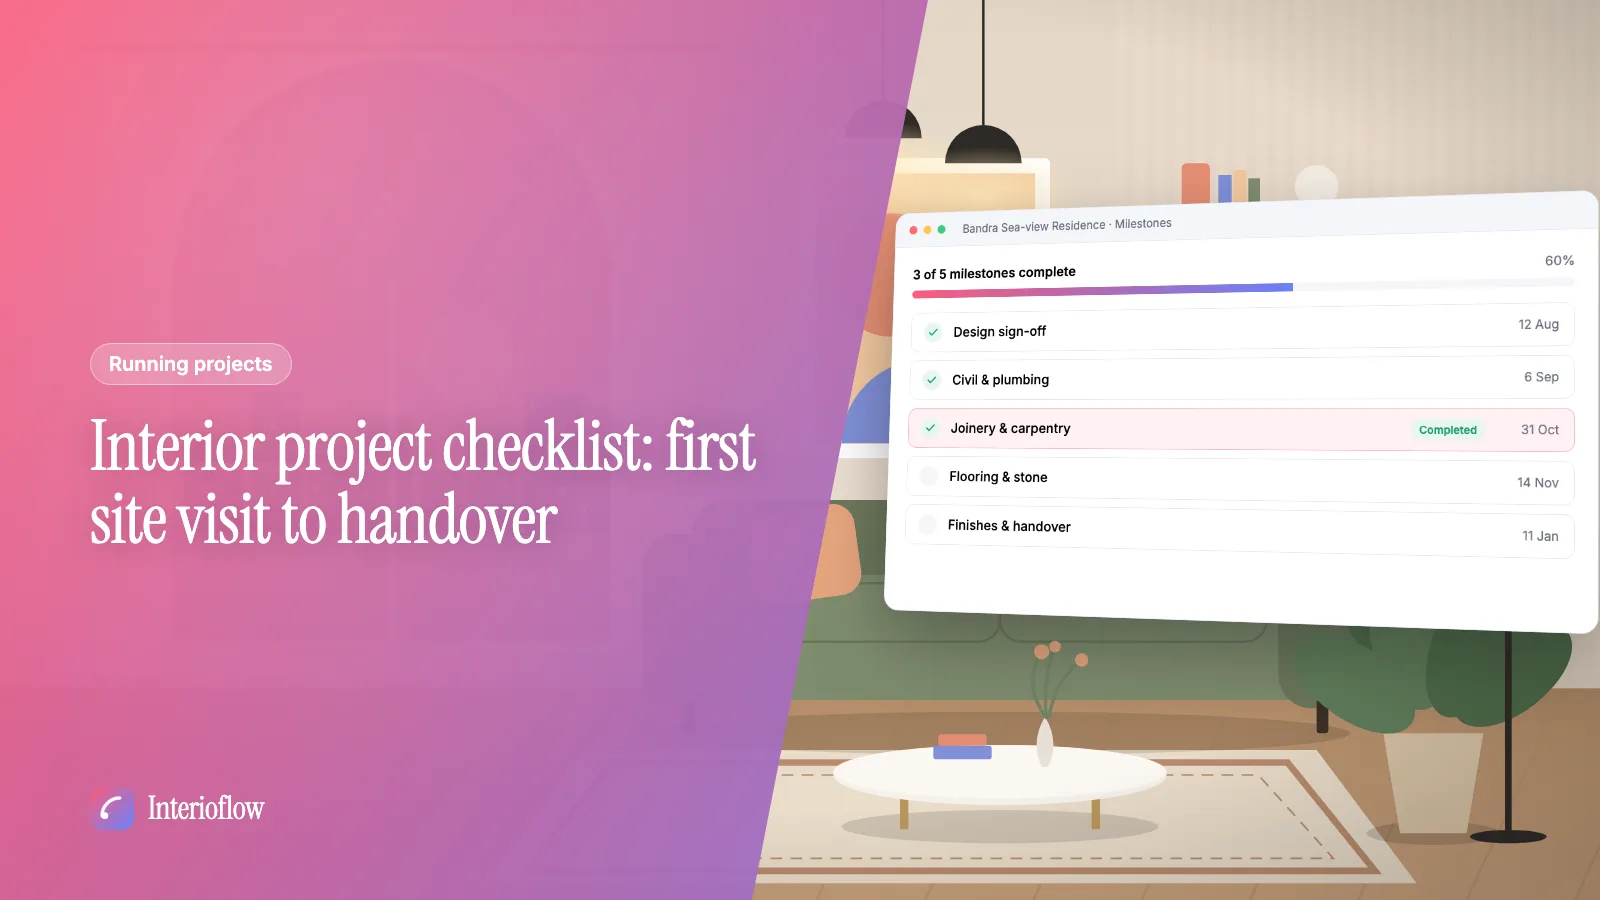
An interior design project checklist runs in roughly this order: first site visit and brief, measurements, agreement and fee, design approvals, quotation, site preparation, civil and services work, false ceiling and carpentry, finishes, installation, snagging and handover. The point of a checklist isn't the list itself. It's making sure each stage ends with something the client has agreed to before the next one starts, because that's where most delays and payment disputes begin.
Below is the version we'd hand a new project lead. Adjust it for your own studio; a turnkey firm and a design-only consultant will weigh the stages very differently.
Before you quote anything: the first visit and brief
The first visit decides more than people think. Go with a tape, a camera and a notebook, and don't leave without:
- Who decides. The person who called you may not be the one who signs. In a lot of family homes, the real approver turns up at the third meeting. Ask early, politely.
- Budget, as a range. Clients rarely give a number on day one. Offer bands ("between ₹8 and ₹12 lakh, or above?") and watch which one they don't flinch at.
- Possession and move-in dates. A family moving in before Diwali changes everything about sequencing.
- Building rules. Ask about society working hours, lift bookings, refundable deposits and whether the society needs a written application before work starts. Many housing societies do, and finding out on day one of demolition is expensive.
- Existing condition. Photograph every wall, the electrical DB, plumbing points, any seepage. These photos protect you later when someone says the crack "wasn't there before".
Then take full measurements, ideally on a separate visit. Rushed measurements on a first visit are where wardrobe shutters that don't close come from.
Agreement and fee, before the drawings
It's tempting to start designing to impress the client. Hold off until the scope and fee are written down. The agreement should cover:
- Scope: which rooms, which items, what's excluded (appliances, loose furniture, civil changes).
- Your fee, how it's calculated and when each part is due.
- How material is charged, including any markup or handling charge.
- How changes after approval will be priced and approved.
- What "handover" means, and that the final payment is due then.
That last one matters more than it looks. We've seen studios lose months chasing a final 10% because the agreement said "on completion" and nobody agreed what completion was. If you haven't settled your fee model yet, how interior designers charge fees covers the common options.
Design and approvals
This stage is mostly loops: concept, layout, mood board, 3D views, colours, material and finish selections, furniture and lighting. Each one should end with a yes in writing.
A practical order:
- Layout and furniture placement first, because electrical points depend on it.
- Electrical and plumbing layouts next, before anyone breaks a wall.
- 3D views and elevations, then material and finish samples.
- Lighting and loose furniture last, since these can run in parallel with execution.
The trap here is the WhatsApp thumbs-up. A client who sends a thumbs-up to a 3D render on Tuesday and a different colour on Saturday hasn't approved anything you can point to. We wrote a whole piece on getting client approvals in writing, but the short version is: keep each decision in one place, with the date, the version and the client's actual answer.
In Interioflow, this is what design approvals are for. You send a request for a layout, palette, finish or similar, optionally offer two to six options with images, set a reply-by date, and the client approves, requests changes or rejects from their portal. Binding items like agreements and payment terms can require an emailed 6-digit code, and every answer to every version is kept.
Quotation and approval
Once the design is settled, quote it. Line items by room or by trade, with quantity, unit, rate and GST shown clearly. Get it approved before ordering anything long-lead, like modular kitchen hardware or imported tiles.
When the client changes something later (and they will; the mother-in-law will have opinions about the pooja unit laminate), issue a revised or additional quotation rather than adjusting the original in a chat message. Keep the old version. You'll need it.
Site execution checklist
Here is the execution sequence for a typical apartment fit-out. Not every site needs every step, and some overlap.
| Stage | Before you start | Before you close it |
|---|---|---|
| Site preparation | Society approval, deposit paid, floor protection, debris plan | Photos of the protected site |
| Demolition and civil | Approved layout on site, marked walls | Debris cleared, walls checked for level |
| Electrical and plumbing | Approved points layout, conduit and pipe material on site | Pressure test for plumbing, photos of every concealed run |
| False ceiling | Services done and tested, AC and light positions fixed | Ceiling level checked, cut-outs match lighting plan |
| Carpentry | Ply, laminate and hardware delivered, shop drawings approved | Shutters aligned, hardware working, edges banded |
| Painting and polish | Carpentry and ceiling done, putty work done | Second coat, touch-ups after other trades |
| Installation | Lights, sanitaryware, appliances on site | Everything switched on and tested |
| Deep clean | All trades off site | Ready for the client walk-through |
Two habits save most of the pain here.
Photograph concealed work. Before the ceiling closes or the wall gets plastered, take photos of every conduit and pipe run. When a client wants a new point two years later, you'll know where to cut.
Check deliveries against the schedule weekly. A carpenter sitting idle for three days because the hinges didn't arrive costs you his day rate and your credibility. Keep a simple list of who's promised what, by when.
Interioflow covers this with milestones and site tracking: ordered milestones with planned dates, internal sub-tasks for your team that the client never sees, and progress updates with photos and videos that do show up in the client's portal. Dated commitments (a delivery, a visit, a payment) sit alongside, with an owner and a status, so you see what's due or overdue without scrolling a group chat.
Snagging and handover
Do your own snag walk before the client does. Open every shutter, switch every switch, run every tap, check every drawer channel. Then walk the client through and write their snag list together, room by room, with a date for closing it.
At handover, give the client:
- A list of brands, models and colour codes used, so they can match a laminate or paint later.
- Warranty cards and invoices for appliances and hardware.
- The electrical and plumbing layout photos.
- Keys, remotes and any society paperwork.
After handover: payment and the bit nobody plans for
The final payment should fall due at handover, as the agreement said. If you tied collection stages to milestones from the start, this is a much calmer conversation, because the client has seen each stage fall due as work was completed. Interioflow can tie collection stages to milestones so a stage falls due, and the client is notified, when its milestone is marked complete.
Expect a small call-back within the first couple of months: a shutter that dropped, a tap that drips. Fix it quickly, without making the client chase you. That visit tends to decide whether they recommend you to the neighbours.
Quick answers
What are the stages of an interior design project? Roughly: first visit and brief, measurements, agreement and fee, design and approvals, quotation, site preparation, civil and services work, ceiling and carpentry, finishes, installation, snagging and handover. Each stage should end with something agreed in writing before the next one starts.
What should be on a site execution checklist? Society permissions and working hours, approved drawings on site, material delivery dates, the order of trades, and a sign-off point after concealed work like electrical and plumbing. Add a photo record before anything gets closed up behind a ceiling or wall.
When should the final payment be collected on an interior project? Tie it to a clear event, usually handover after the snag list is cleared, and write that into the agreement at the start. A vague "on completion" clause is how studios end up chasing the last 10% for months.
How do I stop clients changing the design during execution? You can't stop it entirely, but you can make every change visible. Get the original design approved in writing, then treat each change as a fresh approval with its cost and time impact attached.